|
|
Become A Sponsor
|
Why Ads
How to Make Your Own Distance Computer
Step 1: Download and print out the image file.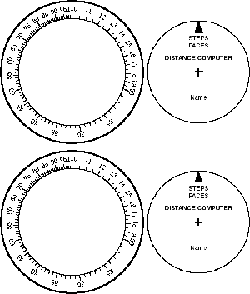
-
The image file will look like the picture to the right.
-
Each sheet will produce two computers.
-
A laser printer is best; most inkjet ink will run if it gets wet.
If you have an inkjet printer, you can reproduce the image with a photocopier.
-
The computer is also sturdier if it is printed onto card stock, like
that used for index cards. An office supply store or photocopier
center can help you find this.

-
The image file is available in four different formats. The original
file was created in Adobe PostScript®, so it will have the highest
quality, and Adobe Acrobat® is equally good. If you do not have
the software necessary to handle these, there are also GIF and Microsoft
Word® files.
-
Image files:
Step 2: Cut out the circular patterns.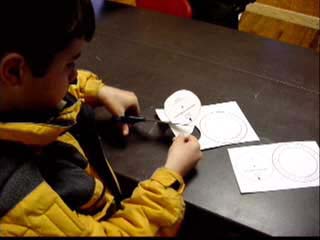
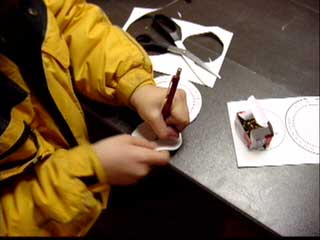
Step 3: CAREFULLY punch holes in the center of each circle (marked by the
cross).
-
Each hole should be about 1/8 inch (3 mm) in diameter.
-
A pencil works well for punching the holes.
-
To be completely safe, it would be best to use a block of wood, with a
3/16 inch hole drilled into it, as a backing piece. Place the card
on the block, center it over the hole, and punch.
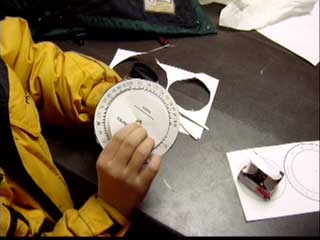
Step 4: Fasten the two circles together with a paper brad.
-
These are still available at office supply stores.
-
The ones I found are labeled "Brass Plated Fasteners."
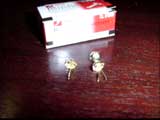
The inner circle should turn freely and be centered within the outer circle.
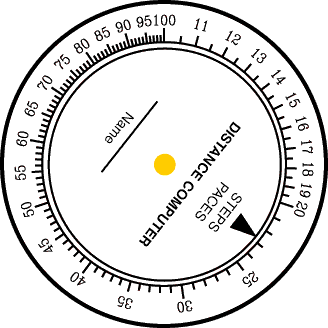
Your computer should look something like this:


|
|


